A Step-by-Step Guide on How to Install CyberPanel on a VPS
In the dynamic world of web hosting, finding the right control panel for your virtual private server (VPS) is crucial. CyberPanel, a feature-rich and user-friendly control panel, has gained popularity for its efficiency and ease of use. In this guide, we’ll walk you through the process of installing CyberPanel on your VPS, ensuring a smooth and hassle-free experience.
Step 1: Choose a Compatible VPS Provider:
Before diving into the installation process, ensure that your VPS provider supports CyberPanel. CyberPanel is compatible with various providers, including JuJu Hosting, DigitalOcean, Vultr, and Linode. Choose a provider that aligns with your requirements and budget.
Step 2: Connect to Your VPS:
Access your VPS using SSH (Secure Shell) to initiate the installation process. You can use popular SSH clients like PuTTY (for Windows) or the terminal (for Linux and macOS). Connect to your VPS by entering the provided IP address and your login credentials.
ssh root@your_vps_ip
Step 3: Update and Upgrade:
Before installing any software, it’s essential to update and upgrade your VPS to ensure you have the latest packages. Use the following commands for Debian/Ubuntu or CentOS:
For Debian/Ubuntu:
sudo apt update && sudo apt upgrade -y
For CentOS:
sudo yum update -y
Step 4: Install CyberPanel:
Now, it’s time to install CyberPanel. Use the following commands based on your operating system.
For CentOS:
sh <(curl https://cyberpanel.net/install.sh || wget -O - https://cyberpanel.net/install.sh)
For Ubuntu/Debian:
sh <(curl https://cyberpanel.net/install.sh || wget -O - https://cyberpanel.net/install.sh) -sudo
Step 5: Follow the Installation Wizard:
Once the installation script is executed, CyberPanel’s installation wizard will guide you through the setup process. Provide the necessary information, such as your domain name, email address, and desired password. Confirm the installation when prompted.
Step 6: Access the CyberPanel Dashboard:
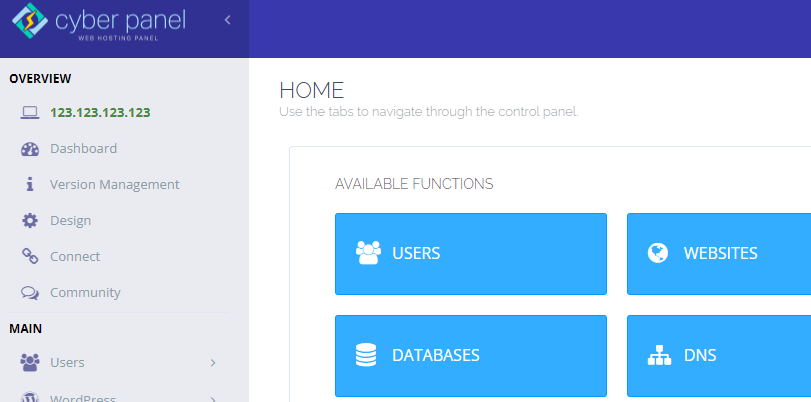
After the installation is complete, you can access the CyberPanel dashboard through your web browser. Open your preferred browser and enter:
https://your_vps_ip:8090
Log in using the credentials you set during the installation.

Congratulations! You’ve successfully installed CyberPanel on your VPS. With its intuitive interface and robust features, CyberPanel simplifies the management of your server, making it easier to host websites and applications. Explore the CyberPanel dashboard to take full advantage of its capabilities and enjoy a seamless hosting experience on your VPS.


